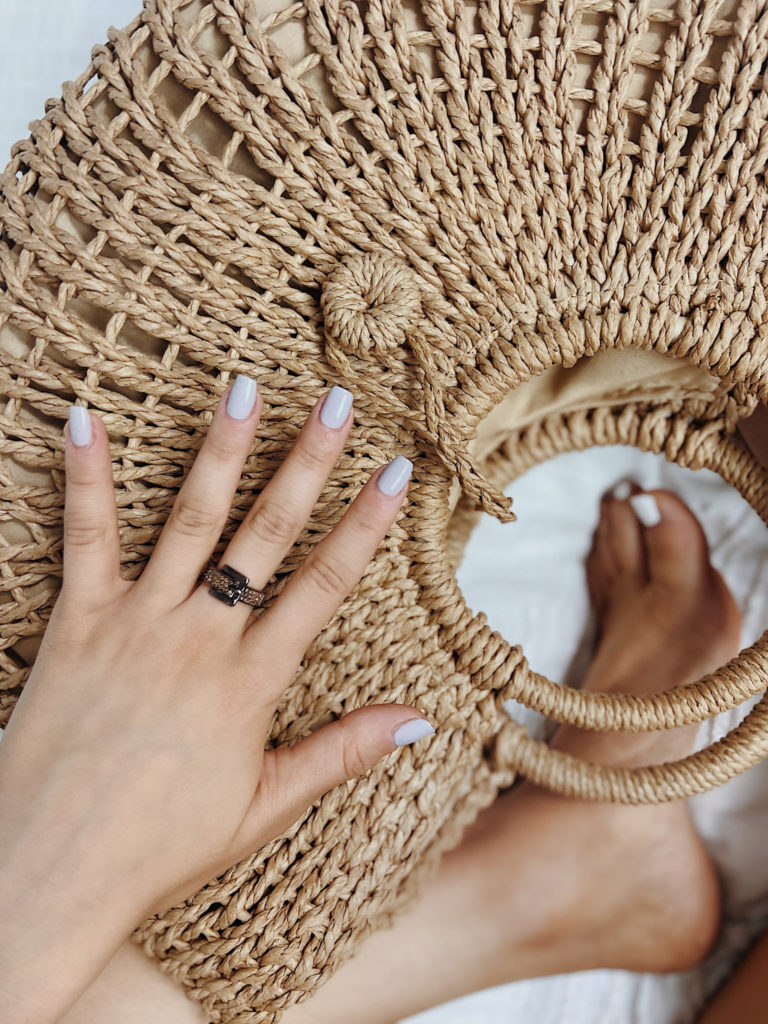
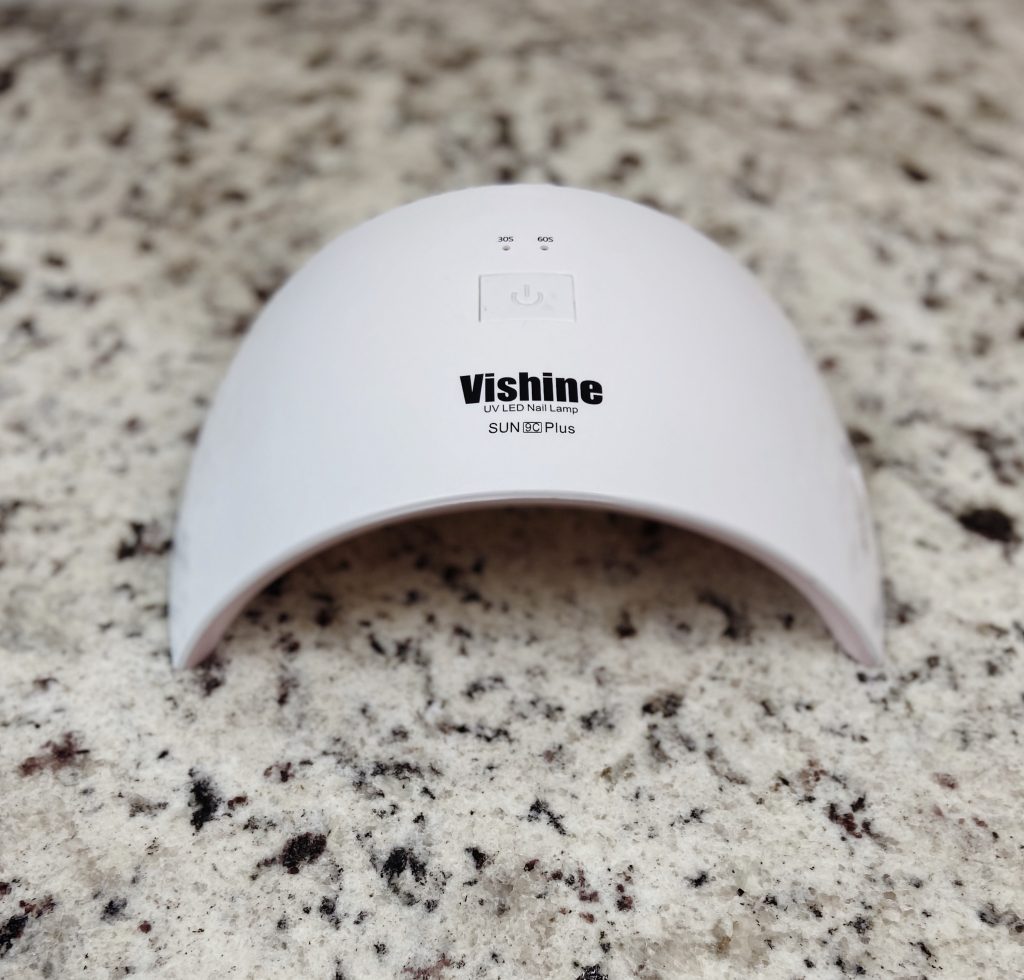
If there’s one thing that this quarantine has taught me; it’s how to be more self sufficient! I have literally turned our home into a spa hahah. Facials, waxes, hair, nails, you name it and we got it! The one purchase that I do not regret is my UV gel kit. This thing has (and will) save me so much money down the line! Think about it – gel manicures typically cost $40 (including tip). If you go every 2 weeks, that’s $1,040 a year!! I never thought that doing your nails at home could be so easy. Practice makes perfect so the more you try, the better you get! You may not get “salon” looking results the first time but trust me, you’ll get there!
Prep
step #1
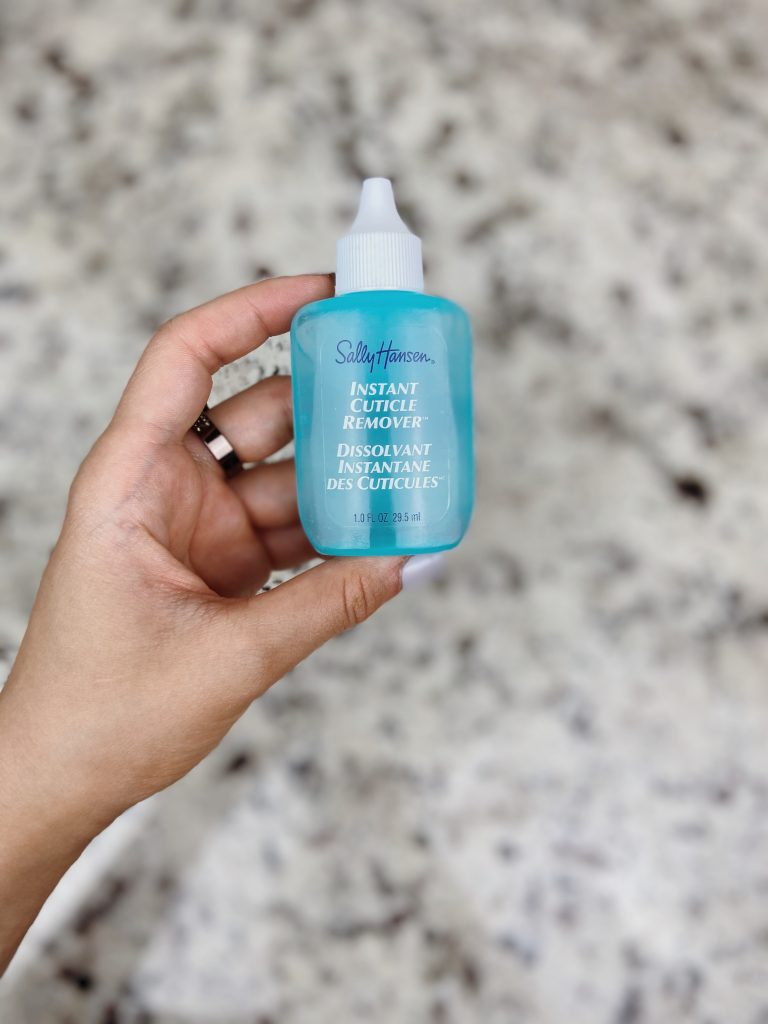
First, I start by cleaning up my cuticles. I use the Sally Hansen cuticle remover and it makes this process extremely easy! Just apply the gel, let it sit for a minute, push your cuticles back, then wipe off with a cotton ball. Next, I use a cuticle nipper to clean up any hang nails and a cuticle trimmer to get remaining cuticles. We have this AMAZING manicure set that comes with everything you need.
step #2
Next, I file my nails so that they are all equal lengths. I usually go for more of an almond / coffin shape. Once that’s done, I use a nail buffer (100/180 grit) to lightly buff my nail bed. This step is optional but I find that it helps a ton. My manicure usually lasts longer because the polish has something to grip on.
step #3
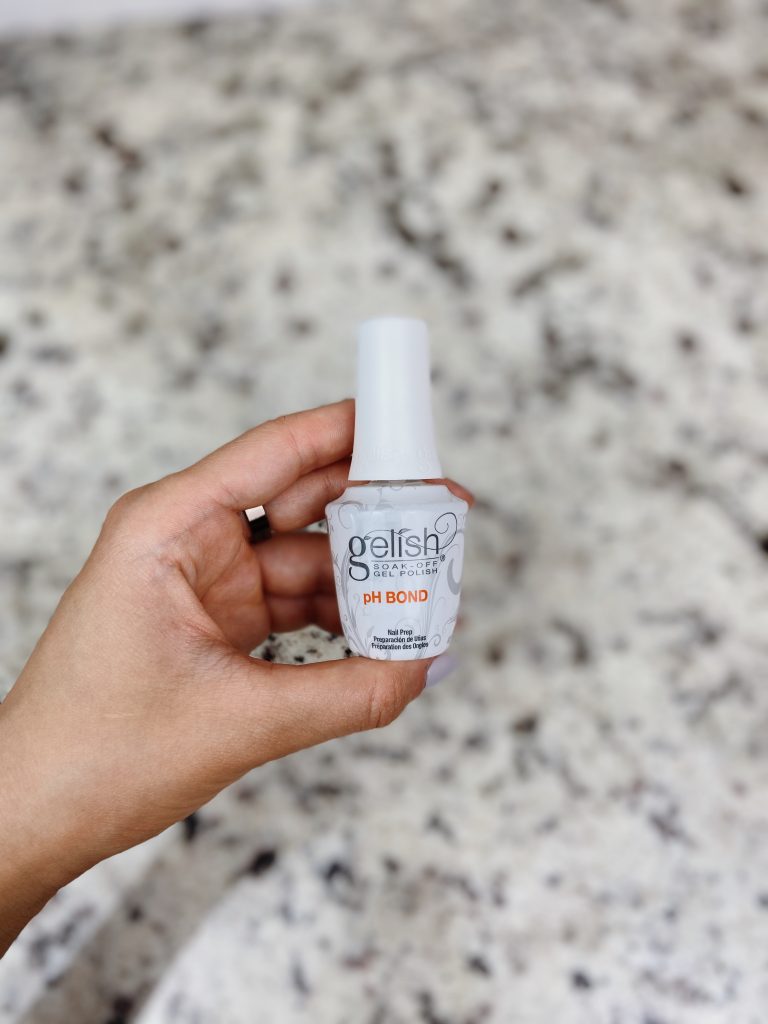
After the cuticles and filing, it’s time wash your hands. It’s best to just use water so that oils from your soap don’t linger. We are just ensuring the dust/cuticle oil is removed before starting. Make sure you dry your hands thoroughly. Then I use the PH bond by Gelish to remove any remaining moisture. Don’t worry if you don’t have the PH bond; take an alcohol swab and quickly pass it over all of my nails instead!
Gel application
step #4
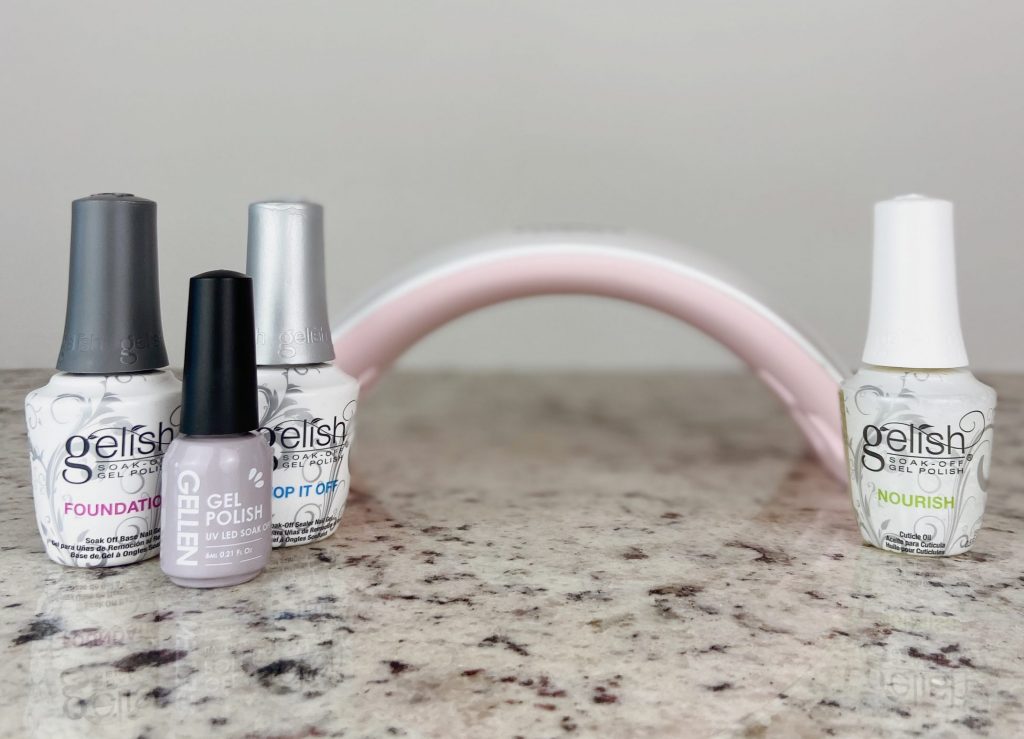
Apply your base coat and let it cure for 2 minutes. I love the Foundation gel polish by Gelish!
step #5
Apply your favorite gel color of choice in THIN layers. I’ve been loving the gel kits by Gellen. Make sure you don’t start too close to the cuticle. You want to leave a tiny space between your cuticle and where the gel polish starts. They key here is to “wrap your tips.” What does this mean? After applying the first coat, you want to wipe off your brush really well, leaving a minimal amount polish on the bristles. Then, gently swipe the brush along the free edge of your nail so that you only have a bit of polish underneath the tip. I like to take the brush and swipe a few more time on my entire nail afterwards so that the polish is even.
The general rule for gel polish is:
Light polish: 3 coats, cure for 1 minute between
Dark polish: 2 coats, cure for 2 minutes between
step #6
Apply a thin layer of top coat and cure for 2 minutes. If you are using a “no wipe” top coat, then you are done! If you aren’t, then use an alcohol swab and lightly swipe over each nail to remove the sticky layer! Again, I love the top coat by Gelish hahah. With the Gelish one, I have to use an alcohol swab when I am done.
step #7
You are ALMOST done! This is the most satisfying step – applying your cuticle oil. I’ve used cuticle oils by Essie and Gelish – they are both amazing. Enjoy your new manicure and be sure to share your results below :)! You can also follow these steps to give yourself a pedicure! I actually find that my pedicures last over 3 weeks!





Pretty! This was a really wonderful post. Thank you for your provided information.
Thank you :)!
My brother suggested I may like this blog. He was once entirely right. This publish actually made my day. You can not imagine just how much time I had spent for this info! Thank you!
Great, thanks for sharing this blog. Really thank you! Awesome.
Thanks for your blog, nice to read. Do not stop.